
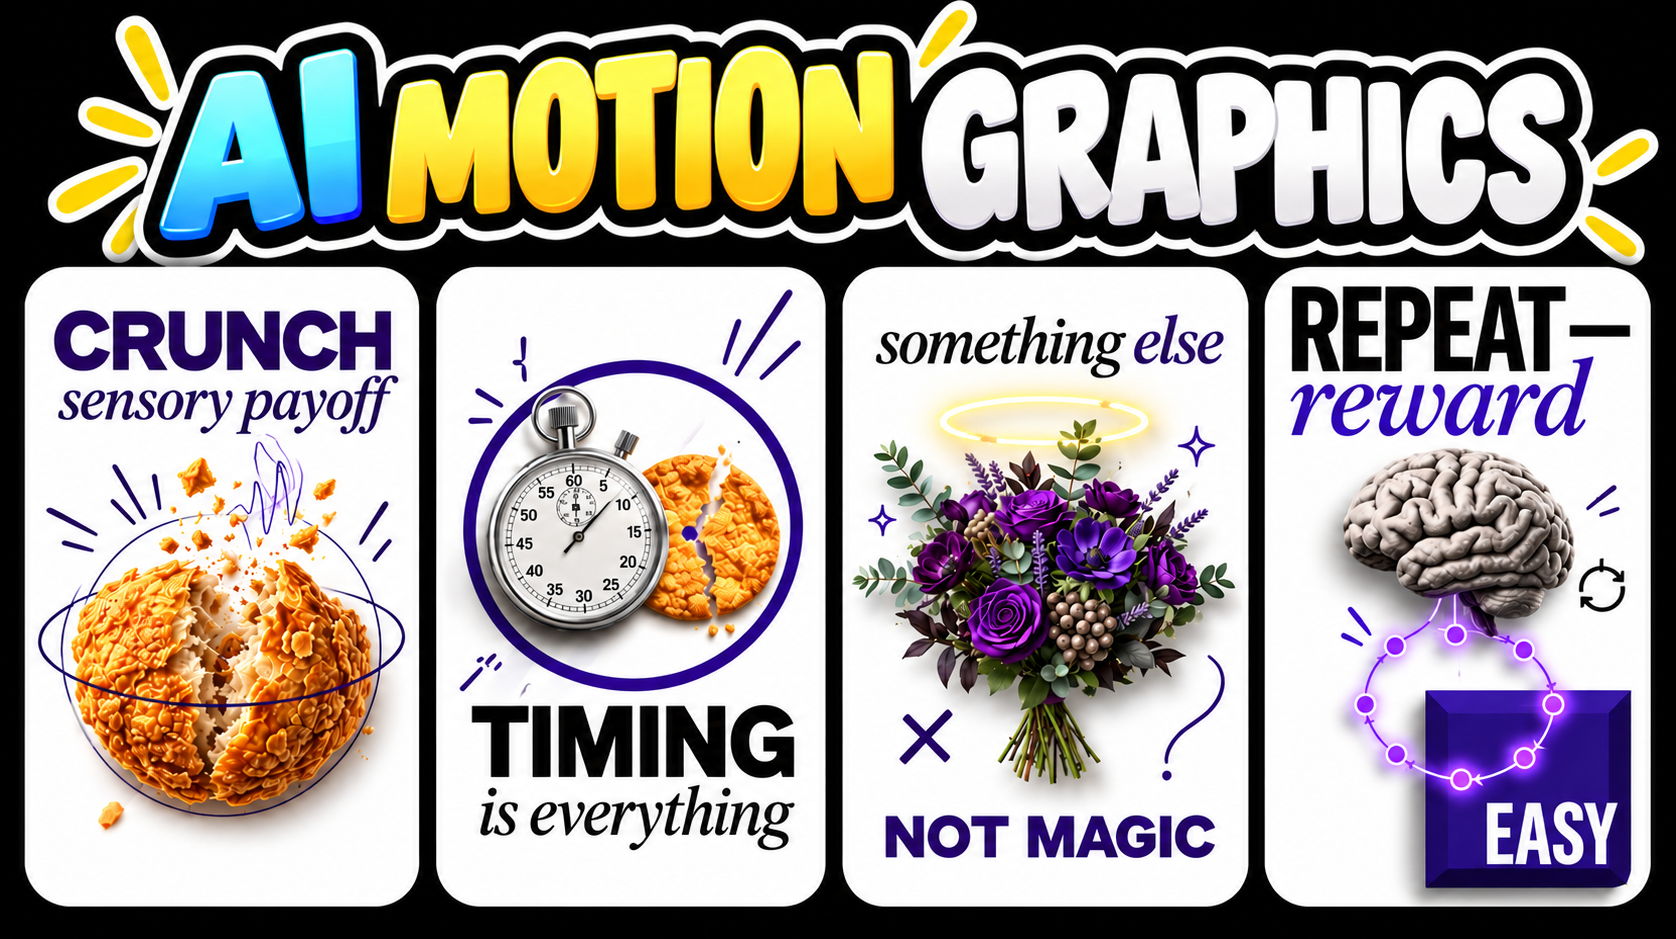
Have you ever watched eye-catching 3D motion graphics on TikTok, Instagram, or Pinterest and wondered how creators make them? These videos often feature floating objects, glowing typography, futuristic environments, abstract shapes, and smooth cinematic animations. They look professional, but creating them traditionally can require expensive software, advanced design skills, and hours of work.
The good news is that AI is changing the way we create video content.
With Google Flow and Free AI tools, you can turn a simple idea into a collection of AI-generated images, animate those images into video clips, add a realistic voiceover, and edit everything into a polished final video. You don’t need to be a professional animator or have years of experience with 3D software to get started.
In this guide, you’ll learn how to create 3D Motion Graphics step by step using an AI-assisted workflow. We’ll cover everything from developing your initial concept to generating images, animating scenes, creating voiceovers, and editing your final video.
Whether you’re a YouTuber, content creator, marketer, or beginner exploring AI video production, this workflow can help you create engaging content without a large production budget.
Let’s get started!
What Are 3D Motion Graphics?
3D motion graphics combine three-dimensional visual elements with movement, lighting, typography, and animation to communicate an idea or tell a story.
Unlike traditional videos that rely primarily on filmed footage, motion graphics can use animated objects, abstract shapes, digital environments, and visual effects to explain concepts in a more engaging way.
For example, you might create a video explaining how the human brain works using a glowing 3D brain model, floating interface elements, and dynamic camera movements. You could also create futuristic product advertisements, educational videos, technology explainers, or abstract visual loops for social media.
Some popular applications of 3D Motion Graphics include:
- Social media content: Create visually engaging videos for TikTok, Instagram Reels, and YouTube Shorts.
- Educational videos: Explain psychology, science, technology, and other complex subjects through visual storytelling.
- Product advertising: Present products with dramatic lighting, animated text, and cinematic camera movements.
- YouTube automation: Build faceless video channels around educational topics, technology, business, or interesting facts.
- Brand marketing: Develop eye-catching promotional videos without organizing a traditional video shoot.
AI tools make this creative process more accessible by helping generate visual concepts, images, animations, and narration.
Tools You Need to Create 3D Motion Graphics With Free AI
Before starting, prepare the following tools. Each one has a specific role in the production process.
1. ChatGPT
Use ChatGPT to brainstorm video ideas, write narration scripts, develop a consistent visual style, and generate image and video prompts for individual scenes.
2. Google Flow
Google Flow is Google’s AI-powered filmmaking tool. Depending on the available models and features in your account, it can help you generate images and video clips from text prompts and visual references.
For this workflow, we’ll use it to create scene images and animate them into short video clips.
3. ElevenLabs
ElevenLabs offers AI text-to-speech tools that can turn your narration script into spoken audio. You can choose a suitable voice and adjust available voice settings to match the tone of your video.
4. CapCut
CapCut is a video editor that you can use to arrange clips, synchronize visuals with narration, adjust playback speed, add transitions, and export your finished video.
Important: Free plans, credits, model availability, and export options can change over time. Check each platform’s current pricing and usage limits before starting. You can follow the workflow with free-tier access where available, but completing every scene may require additional credits or a paid plan.
Step 1: Generate a Video Idea and Script With ChatGPT
The first step in creating compelling 3D Motion Graphics is choosing a topic that can be communicated visually.
Instead of starting with complicated animation software, begin with a clear idea and let AI help you develop it.
Open ChatGPT and enter a master prompt that instructs it to act as a video strategist, scriptwriter, and visual director.
You can use the following example:
Prompt:
“Act as an expert short-form video scriptwriter and 3D motion graphics creative director. Help me create an engaging educational video for a US audience.
First, suggest 10 interesting video ideas with strong hooks and clear visual storytelling potential. After I select a topic, write a concise narration script divided into 10 scenes.
For each scene, include the narration, the main visual concept, and a detailed image-generation prompt. Maintain a consistent visual style across all scenes.
Keep the language natural, conversational, and easy to understand. Design the script for a vertical 9:16 video suitable for YouTube Shorts, TikTok, and Instagram Reels.”
Once ChatGPT generates the ideas, choose a topic with a strong hook and plenty of opportunities for interesting visuals.
For example, you could select:
“Why Your Brain Makes You Check Your Phone Without Thinking.”
This topic works well because it combines a relatable everyday habit with an intriguing psychological explanation.
Ask ChatGPT to develop the complete narration script and divide it into approximately 10 scenes. Each scene should communicate one part of the story.
Next, request three different visual directions. For instance:
- Dark Technical Minimalism: Black backgrounds, glowing blue elements, clean typography, and futuristic interfaces.
- Colorful Abstract 3D: Vibrant objects, soft gradients, playful shapes, and dynamic compositions.
- Luxury Cinematic 3D: Dramatic lighting, premium materials, realistic textures, and elegant camera movements.
Choose the style that best fits your topic and target audience.
For educational technology content, dark technical minimalism can create a distinctive visual identity while keeping the viewer focused on the main concept.
Step 2: Create Consistent Images With Google Flow
Once your script is ready, it’s time to turn each scene into a visual.
Ask ChatGPT to generate one detailed image prompt for every scene in your narration. If your video contains 10 scenes, you should have 10 corresponding image prompts.
Each prompt should describe the main subject, environment, composition, lighting, colors, materials, and visual style.
Consistency is especially important. If every scene uses different colors, lighting, or design elements, your final video may feel disconnected.
For example, an image prompt might describe a glowing smartphone floating in a dark futuristic environment, surrounded by subtle notification symbols and blue light reflections.
Now open Google Flow and create a new project.
Follow these steps:
- Select the image-generation workflow or feature available in your account.
- Choose the appropriate aspect ratio. For YouTube Shorts and other vertical videos, use 9:16 when supported.
- Select a suitable image-generation model from the available options.
- Paste your scene-generation instructions into the prompt field.
- Add the 10 image prompts in the correct order.
- Generate the images and review the results.
If your Flow interface supports Agent Mode and multi-prompt workflows, you can use those features to help process multiple scenes. Otherwise, generate each image individually.
Review every result carefully. If an image doesn’t match the script or visual style, revise its prompt and generate another version.
Pay attention to the main subject, composition, lighting, and any text appearing inside the image.
For cleaner results, avoid unnecessary text within generated images. You can add titles and labels later during editing, where you have more control over typography and placement.
Once you’re satisfied, keep the best image for each scene and organize the files in numerical order.
Your image sequence will serve as the visual foundation for the next stage.
Step 3: Animate the Images Into Video Clips With Google Flow
Static images are a useful starting point, but movement is what brings 3D Motion Graphics to life.
In this step, you’ll use Google Flow to transform your selected images into short animated clips.
Return to ChatGPT and ask it to create a video-generation prompt for each scene. The prompts should describe how the image moves rather than simply repeat what’s already visible.
For example, a video prompt could instruct the camera to slowly push toward a glowing smartphone while notification symbols float around it, the blue lighting pulses subtly, and the background remains dark and uncluttered.
Good animation prompts generally specify four things:
- Camera movement: A slow push-in, smooth orbit, tracking shot, or controlled zoom.
- Object movement: How the main subject moves, rotates, expands, or interacts with other elements.
- Lighting and atmosphere: Whether lights pulse, reflections change, or particles drift through the scene.
- Visual consistency: Which elements must remain stable throughout the clip.
Next, open Google Flow and select the video-generation feature available in your account.
If your workflow supports image-to-video generation, use the image created for each scene as its visual reference. This helps preserve the intended composition.
Follow this process:
- Select the appropriate video model.
- Choose a short clip duration supported by your account.
- Upload or select the image corresponding to the first scene.
- Paste the matching video prompt.
- Generate the clip and review the result.
- Repeat for the remaining scenes.
Keep the images and prompts in the correct order. The first image should correspond to the first video prompt, the second image to the second prompt, and so on.
This simple organizational step can prevent major editing problems later.
How to Work Within Free AI Credit Limits
One challenge with AI video production is that video generation often consumes more credits than image generation.
Your available credits will determine how many clips you can produce in a single session. If your account cannot generate every scene at once, prioritize the most important scenes and continue when your allowance becomes available again.
You can also divide the production into smaller batches, save completed clips, and resume the project later.
Avoid assuming that creating additional accounts will automatically provide more free credits. Platform rules and eligibility requirements vary, so use only account arrangements permitted by the service.
After generating all the clips, download them to your computer.
Rename the files using a clear sequence, such as:
- Scene_01
- Scene_02
- Scene_03
- Scene_04
Continue until every scene has a corresponding video clip.
This organization will make the editing process much faster and easier.
Step 4: Create a Natural-Sounding AI Voiceover With ElevenLabs
Your visuals may look impressive, but a strong narration helps viewers understand the story and stay engaged.
ElevenLabs can convert your written script into spoken audio using AI text-to-speech technology.
Start by opening ElevenLabs and accessing its text-to-speech feature. Sign in and review the available voices and usage limits for your account.
Choose a voice that matches your content. For an educational video targeting American viewers, a clear, conversational US English voice is often a good starting point.
Preview several options before making your selection.
Once you’ve chosen a voice, return to ChatGPT and copy the final narration script. Paste it into the text-to-speech interface and generate the audio.
Listen to the result before downloading it.
Check for awkward pauses, incorrect pronunciation, unnatural emphasis, and sentences that sound too rushed. If necessary, revise the script or adjust the available voice settings.
For example, shorter sentences can make AI narration sound more natural and easier to follow.
Download the finished audio file and save it alongside your video clips.
Pro tip: Write for the ear, not just the page. Conversational language, clear transitions, and a strong opening hook usually work better for short-form video narration than dense paragraphs.
Step 5: Edit Your 3D Motion Graphics Video in CapCut
Now you have the main ingredients: AI-generated images, animated video clips, and narration.
The next step is assembling everything into a cohesive video.
Open CapCut and create a new project. Import all your video clips and the voiceover file.
Drag the clips onto the timeline in the correct numerical order, then place the narration on an audio track.
Synchronize the Visuals With the Narration
Play the video from beginning to end and check whether each scene matches the spoken content.
If a scene changes too early or too late, adjust its duration or trim the clip.
You may also need to change the playback speed of certain clips, depending on the available footage and the timing of the narration. Make adjustments carefully to avoid unnatural movement.
Add Transitions and Visual Effects
Simple transitions can make your 3D Motion Graphics feel more polished.
Consider using subtle fades, smooth cuts, or brief transitions between scenes. Avoid adding too many effects, because excessive transitions can distract viewers from the story.
You can also add titles, labels, and small graphic elements to reinforce important ideas.
Keep the typography consistent throughout the video. Use a limited color palette and make sure all text remains readable on a mobile screen.
Improve the Audio
Audio quality is just as important as visual quality.
Adjust the narration volume so every sentence is easy to understand. If your video contains background music or sound effects, keep them at a level that doesn’t compete with the voiceover.
Trim unwanted silence and use short audio fades where necessary to prevent abrupt endings.
Preview the entire video with headphones before exporting it.
Export Your Final Video
When you’re satisfied with the edit, open the export settings.
Choose the highest practical resolution available for your project, select a suitable frame rate, and confirm the correct aspect ratio.
For YouTube Shorts, a vertical 9:16 format is generally the most appropriate.
Export the video and watch the finished file from beginning to end. Check for missing scenes, visual glitches, audio synchronization issues, and accidental black frames.
Your AI-generated motion graphics video is now ready for publishing.
Step 6: Optimize Your Video for YouTube and Social Media
Creating the video is only half the process. You also need to package it effectively so your intended audience understands why they should watch.
Start with a title that communicates the topic clearly and creates curiosity without misleading viewers.
For example:
“Why You Can’t Stop Checking Your Phone | 3D Motion Graphics”
For the thumbnail, choose a strong visual that communicates the video’s central idea. A glowing smartphone, a stylized brain, or a striking futuristic composition can work well for a psychology explainer.
Keep the design uncluttered and make the main subject immediately recognizable.
When writing the description, naturally include relevant phrases such as 3D Motion Graphics, Google Flow, and Free AI tools. Avoid repeating keywords excessively just to influence rankings.
You should also consider adding relevant chapters for longer videos, captions for accessibility, and a clear call to action.
For a broader content strategy, repurpose your finished video into shorter clips for TikTok, Instagram Reels, and YouTube Shorts. You can also turn the same topic into a series by exploring related questions.
One well-developed idea can become the starting point for multiple pieces of content.
Tips for Creating Better 3D Motion Graphics With Free AI
If you want to improve your results, focus on the following principles.
1. Start with a strong concept. A visually impressive video still needs an interesting idea. Choose a topic that creates curiosity or explains something useful.
2. Keep your visual style consistent. Reuse the same color palette, lighting direction, materials, and design language across scenes.
3. Write specific prompts. Clear descriptions of camera movement, object behavior, and lighting generally provide better direction than vague instructions.
4. Review every generated clip. AI-generated videos can contain inconsistent details, unexpected movement, or visual distortions. Regenerate weak scenes when your credits and time allow.
5. Prioritize storytelling. Every scene should contribute to the narration. Don’t add visual effects simply because they look impressive.
6. Organize your files. Use descriptive filenames and maintain a clear scene order from the beginning.
7. Check the licensing terms. Before using generated assets commercially, review the terms of Google Flow, your voiceover provider, your editor, and any other tools in your workflow. Free access does not automatically guarantee unrestricted commercial usage.
8. Improve through experimentation. Test different prompts, camera movements, and visual styles. Save the approaches that consistently produce useful results.
These practices can help you create more polished videos while making better use of your available Free AI tools.
Final Thoughts: Is Google Flow Worth Trying for 3D Motion Graphics?
Creating professional-looking 3D Motion Graphics no longer has to begin with expensive animation software or a complicated production setup.
By combining ChatGPT for planning, Google Flow for visual generation, ElevenLabs for narration, and CapCut for editing, you can build an accessible workflow that turns an idea into a finished video.
The biggest advantage is flexibility. You can experiment with educational explainers, futuristic visuals, product concepts, technology videos, and social media content without filming every scene yourself.
However, AI doesn’t eliminate the creative process. You still need to choose compelling ideas, write effective prompts, review generated footage, and edit everything into a coherent story. Free usage limits may also affect how many clips you can generate.
The best approach is to start with a short, manageable project and improve your workflow with every video.
If you’re interested in AI filmmaking, content creation, and practical ways to use new AI tools, keep exploring the tutorials on DO AI WORLD.
Ready to create your first AI-powered motion graphics video? Choose an idea, write your script, open Google Flow, and start experimenting with the tools available to you.
Your next creative project could be simpler to produce than you think.
Create 3D Animations with Magiclight AI & Seedance 2.5
