
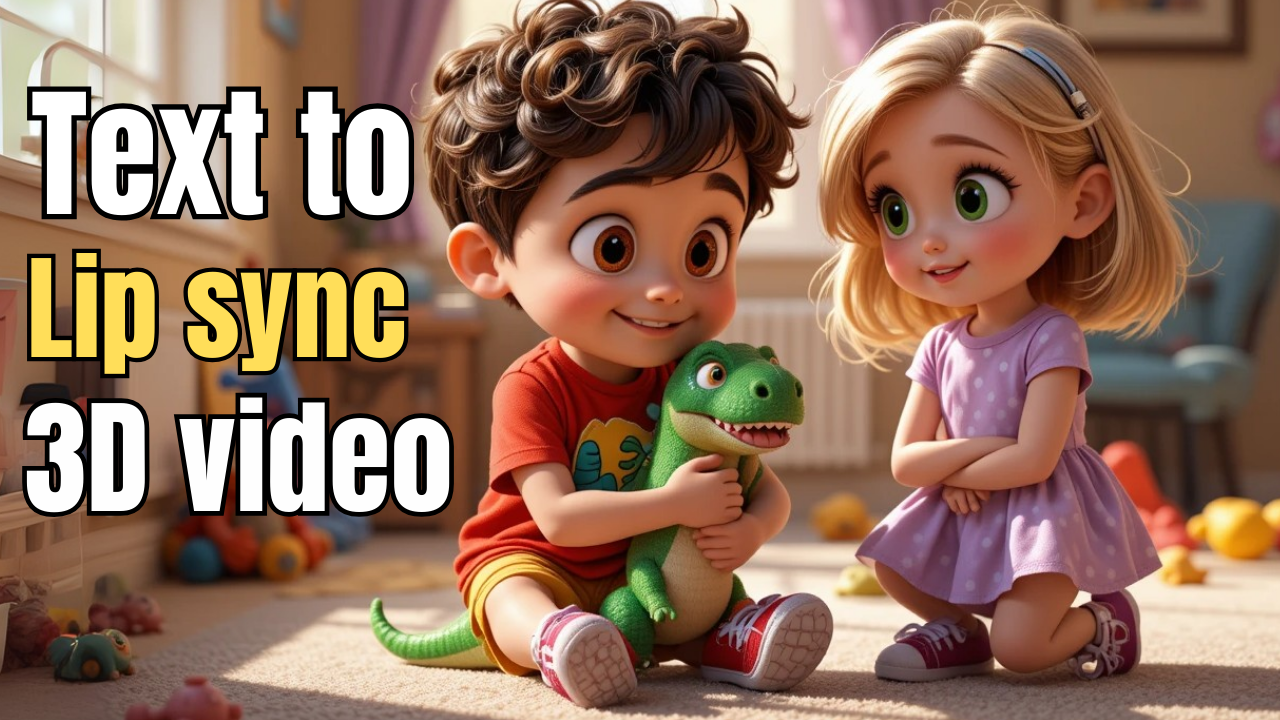
3D animation has traditionally been one of the most complex and expensive types of video production. For years, you needed large teams of animators, scriptwriters, voice actors, and editors to bring characters to life. But today, thanks to the rise of free AI tools, you can create professional-looking 3D animation videos with consistent characters, realistic voices, background music, and even lip sync — all from your own computer.
In this guide, I’ll walk you step by step through the process of creating a full animated video. Whether you want to launch a children’s YouTube channel, make explainer videos, or experiment with storytelling, this tutorial will give you everything you need to know.
Why 3D Animation with AI?
Before AI, producing 3D animation meant:
- Hiring scriptwriters, animators, and music producers.
- Spending thousands of dollars on software licenses.
- Waiting weeks or even months for a single video to be finished.
Now, with free AI tools, you can:
- Generate scripts and story ideas instantly.
- Design characters with consistency.
- Create custom music tracks and realistic voiceovers.
- Animate still images and add natural lip sync.
The best part? You don’t need any prior animation experience — just creativity and the right process.
Step 1: Come Up with Your Idea Using ChatGPT
Every great animation starts with a story. For beginners, keep it simple. Use ChatGPT to brainstorm ideas by entering a prompt like:
“I want to create an animated educational video for kids. Please suggest 10 ideas that teach an important life lesson. The main characters should be a little boy or girl.”
Within seconds, you’ll get a list of creative ideas. For example:
- Tommy Shares His Toys – A lesson about kindness and sharing.
- Mia Learns to Say Thank You – Teaching gratitude.
- Leo Cleans His Room – Encouraging responsibility.
Pick one that resonates with your audience. In this tutorial, we’ll use the story of Tommy learning to share his toys.
Step 2: Write the Script and Song Lyrics
Your script is the foundation of your video. It should include:
- Character dialogue.
- Narration.
- Any song lyrics if you want to add music.
With ChatGPT, you can quickly generate a full script by asking:
“Write a short children’s animation script where Tommy learns the value of sharing. Include dialogue and a fun sing-along song.”
This gives you the text for both your voiceover and your background music. Save the script — you’ll need it later for voice generation and lip sync.
Step 3: Plan Your Scenes (Storyboard)
Now, break your script into scenes. Think of each scene as a snapshot of what’s happening on screen.
For example:
- Tommy plays alone with his toys.
- Mia arrives and asks to play.
- Tommy refuses to share.
- Mia looks sad.
- Tommy decides to share.
- Both kids play happily.
Each scene should have a clear description. The more details you include (background, characters, emotions), the better results you’ll get when generating visuals.
Step 4: Generate Image Prompts with AI
Now we’ll turn those scenes into image prompts. Again, ChatGPT can help by expanding your descriptions. For instance:
Prompt Example:
“A cheerful little boy with short brown hair wearing a red t-shirt, sitting on the floor with colorful toy blocks. The background is a bright living room with a window showing sunlight.”
The goal is consistency — so the boy should always look like the same character. That’s why you’ll want to define character designs separately before generating your full set of images.
Step 5: Define Your Characters
Consistency is key in 3D animation. If your character looks different in each scene, your video will feel messy.
Here’s how to do it:
- Write a detailed description of each character’s appearance (hair, clothes, skin tone, style).
- Save it in a document so you can reuse it across every image prompt.
- Avoid unnecessary details like personality traits. Focus only on what can be visually generated.
Example character description for Tommy:
“A 6-year-old boy with short brown hair, a red t-shirt, blue jeans, and white sneakers. Bright, curious eyes and a happy smile.”
Step 6: Create Your Images with Piclumen AI
With your prompts ready, head to an AI image generator like Piclumen AI.
- Select the Art v1 model (great for cartoon-style 3D visuals).
- Set the aspect ratio to 16:9 (perfect for YouTube).
- Generate 2 images at a time for more options.
If the results don’t look right, tweak your prompt or use the remix feature. Once you’re satisfied, download the images.
Repeat until you have all the scenes for your story.
Step 7: Create Animated Videos from Images with Hailuo AI
Static images are great, but now we want to make them move. Enter Hailuo AI.
Steps:
- Upload your image.
- Describe the motion you want (e.g., “The boy waves his hand”).
- Generate the animation.
You’ll get short animated clips that bring your characters to life. Download and save each one.
Step 8: Create Background Music With SUNO AI
No animation feels complete without music. For kids’ videos, a playful, sing-along style works perfectly.
Use Suno AI:
- Paste in the lyrics you generated earlier.
- Choose a style (e.g., “nursery rhyme sing-along”).
- Generate a track.
You’ll receive a few variations. Pick your favorite and download it.
Step 9: Generate Voiceovers Using ElevenLabs
Next, we need voices for narration and dialogue.
Use Elevenlabs:
- Paste your script.
- Select a realistic voice.
- Generate audio.
Pro tip: If you can’t find a child-like voice, generate an adult voice and then adjust it in CapCut using the voice changer feature (select “kid voice”). This creates a believable child character without extra costs.
Step 10: Add Lip Sync with LemonSlide
Now for the magic: syncing voices with animated mouths.
With LemonSlice:
- Upload your image or short animation.
- Upload the voice file.
- Select Lip Sync mode:
- Version 2.5: Talking head, up to 5 minutes.
- Version 2.7: More natural body and background motion, up to 8 seconds.
For conversations, assign voices to each character. Preview, then generate the final synced video.
Step 11: Edit and Assemble in CapCut
Now it’s time to bring everything together.
- Import all your animated clips into CapCut.
- Arrange them in order according to your storyboard.
- Add your music track to the timeline.
- Sync the lip-synced clips with the dialogue.
- Add transitions and effects to make the video dynamic.
- Use Auto Captions to add lyrics or subtitles.
Finally, export the video in 4K resolution for the best quality.
Step 12: Upload to YouTube (Optional)
If your goal is to build a YouTube channel:
- Choose an engaging title with keywords (e.g., “3D Animation Kids Story with Free AI Tools | Lip Sync Tutorial”).
- Write an SEO-friendly description.
- Add tags like 3D Animation, Free AI Tools, Lip Sync, Kids Story.
- Upload your thumbnail and publish.
Final Thoughts
What once required expensive studios can now be done from your bedroom. By combining 3D animation, free AI tools, and advanced lip sync technology, you can create professional, engaging videos with minimal effort.
This method is perfect for:
- Children’s content creators.
- Educators making learning videos.
- Storytellers exploring new media.
- Businesses looking for affordable animation.
So, if you’ve ever dreamed of making your own animated series, now’s the time. Start with a simple idea, follow these steps, and you’ll have a polished animation ready to share with the world.
